Cameras: the one essential button!
If only one button could remain on a camera besides the shutter release, I'd pick…
White balance, exposure lock, focus point selection, metering mode, AF disengage, ISO selection — all sorts of buttons crowd a camera body. Yet there's one that beats them all and that I wouldn't part with for anything in the world. Often overlooked by amateurs, it's the one every reportage pro works with.
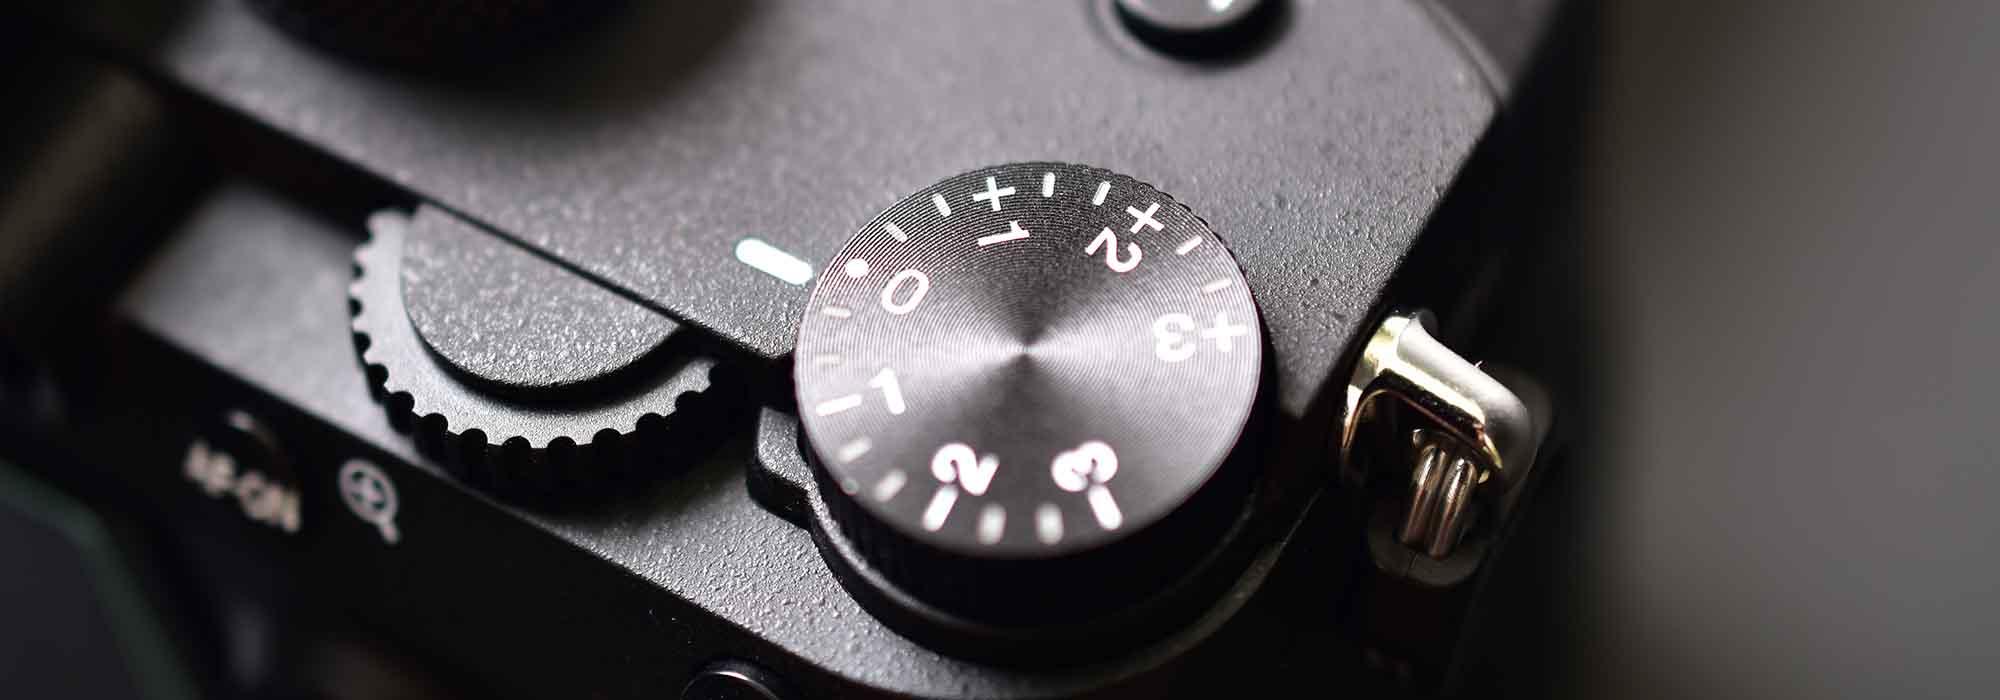
Often shown as a + and a − on inverted colours like the Yin and Yang symbol, or as a dial graduated between -3 and +3, it lets you control exposure whatever the conditions outside.
It's the exposure compensation button.
Why compensate?
Before looking at how and when to compensate, let's answer the question "Why compensate?" — why, when the processor in my camera or my phone is more powerful than the one aboard Apollo 13 (the AGC – Apollo Guidance Computer)? Could our camera take us to the moon yet not produce a properly exposed photo in every situation?
Well, yes — well, not sure it could get us to the moon, but it certainly can't deliver correctly exposed photos in every situation. For a fairly simple reason, in fact. It's not easy to define mathematically what "correctly exposed" means. The amount of light to let into the sensor or onto the film depends on the lighting, the reflected colour, and the luminance of every component of a scene. The contrast balance between those components also comes into play. And while your brain and your eyes can understand that a black object stays black in full sunlight, or that a white object can look grey or even black at night, your camera can't. It assumes good exposure means an average roughly equivalent to mid-grey. And even though increasingly sophisticated metering modes correct for the flaws of average exposure, there are always scenes where the camera struggles.
That's where your brain takes over, thanks to exposure compensation.
How and when to compensate?
Compensating exposure is very simple (and depends on the camera).
On bodies with a graduated dial (usually between -3 and +3 in 1/3 stops), just turn the dial one way or the other before taking the photo.
On cameras with a button plus a notched wheel, hold the button and turn the wheel one way or the other at the same time. Here too, compensation usually goes from -3 to +3 (sometimes -5 to +5) in 1/3 or 1/2 stops.
The exposure compensation button works in P, Av, Tv (or S) modes and rarely in Auto or Auto+ modes. Of course, in M mode, exposure compensation doesn't apply.
Roughly speaking, there are two ways to compensate exposure: a priori or a posteriori. A priori is what seasoned photographers do — they've learned to think like the little processor that runs the exposure. A posteriori is the method to use at the start.
The steps are simple:
- Take a photo
- Look at it on the LCD
- Looks too bright — compensate negative (-1/3 or -2/3)
- Looks too dark — compensate positive (+1/3 or +2/3)
- Take the photo again
- Still poorly exposed? Push further the same way — -1, -1.33 or +1, +1.3
- Take the photo again
- It should be right by now
Beyond this trial-and-error technique, there are a few simple rules! If a scene is very dark (at night, for example), you need to compensate negative. The scene is naturally dark, so the camera will tend to overexpose it to make it look "mid-grey". Same goes for people wearing dark clothes or with dark skin. Conversely, in very bright scenes — snowy landscapes, say — you need to compensate positive. The scene is very bright, so the camera will darken it to make it look grey.